A starry night sky already makes for a majestic photograph, but with star trail photography, you can use long exposure techniques to create even more wondrous images. This guide will cover the basics of star trail photography, including essential equipment and optimal camera settings.
What Is Star Trail Photography?
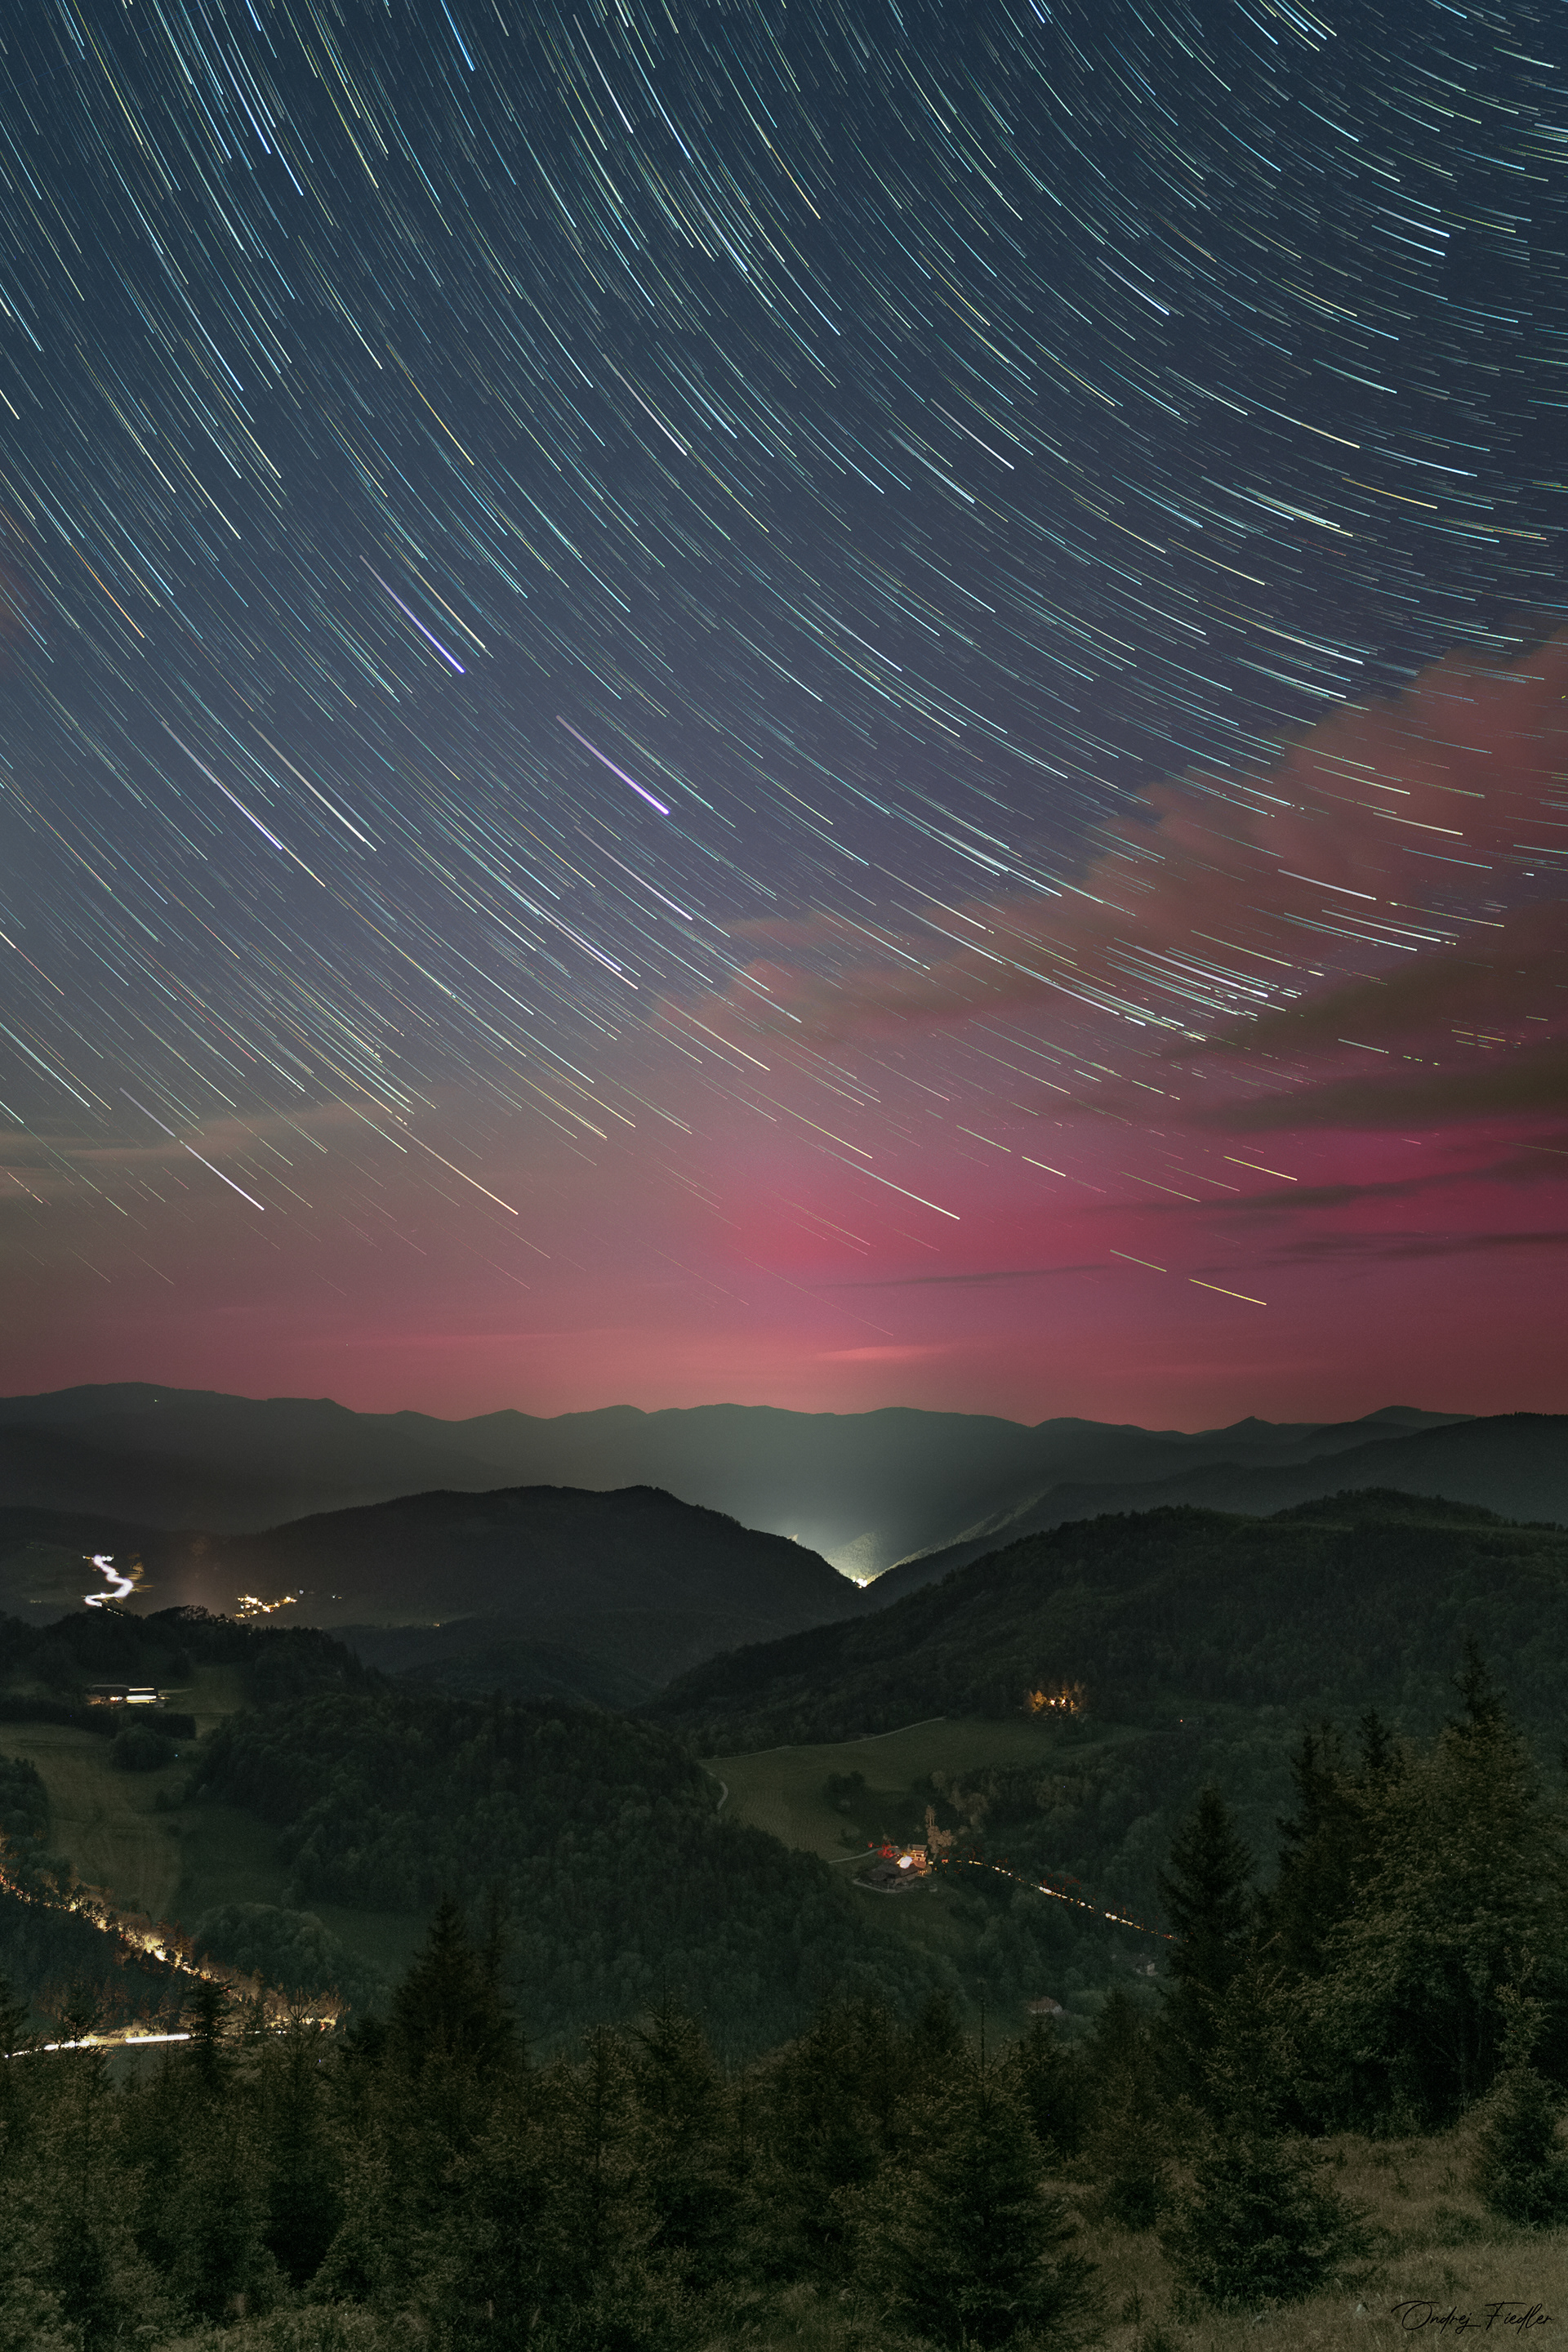
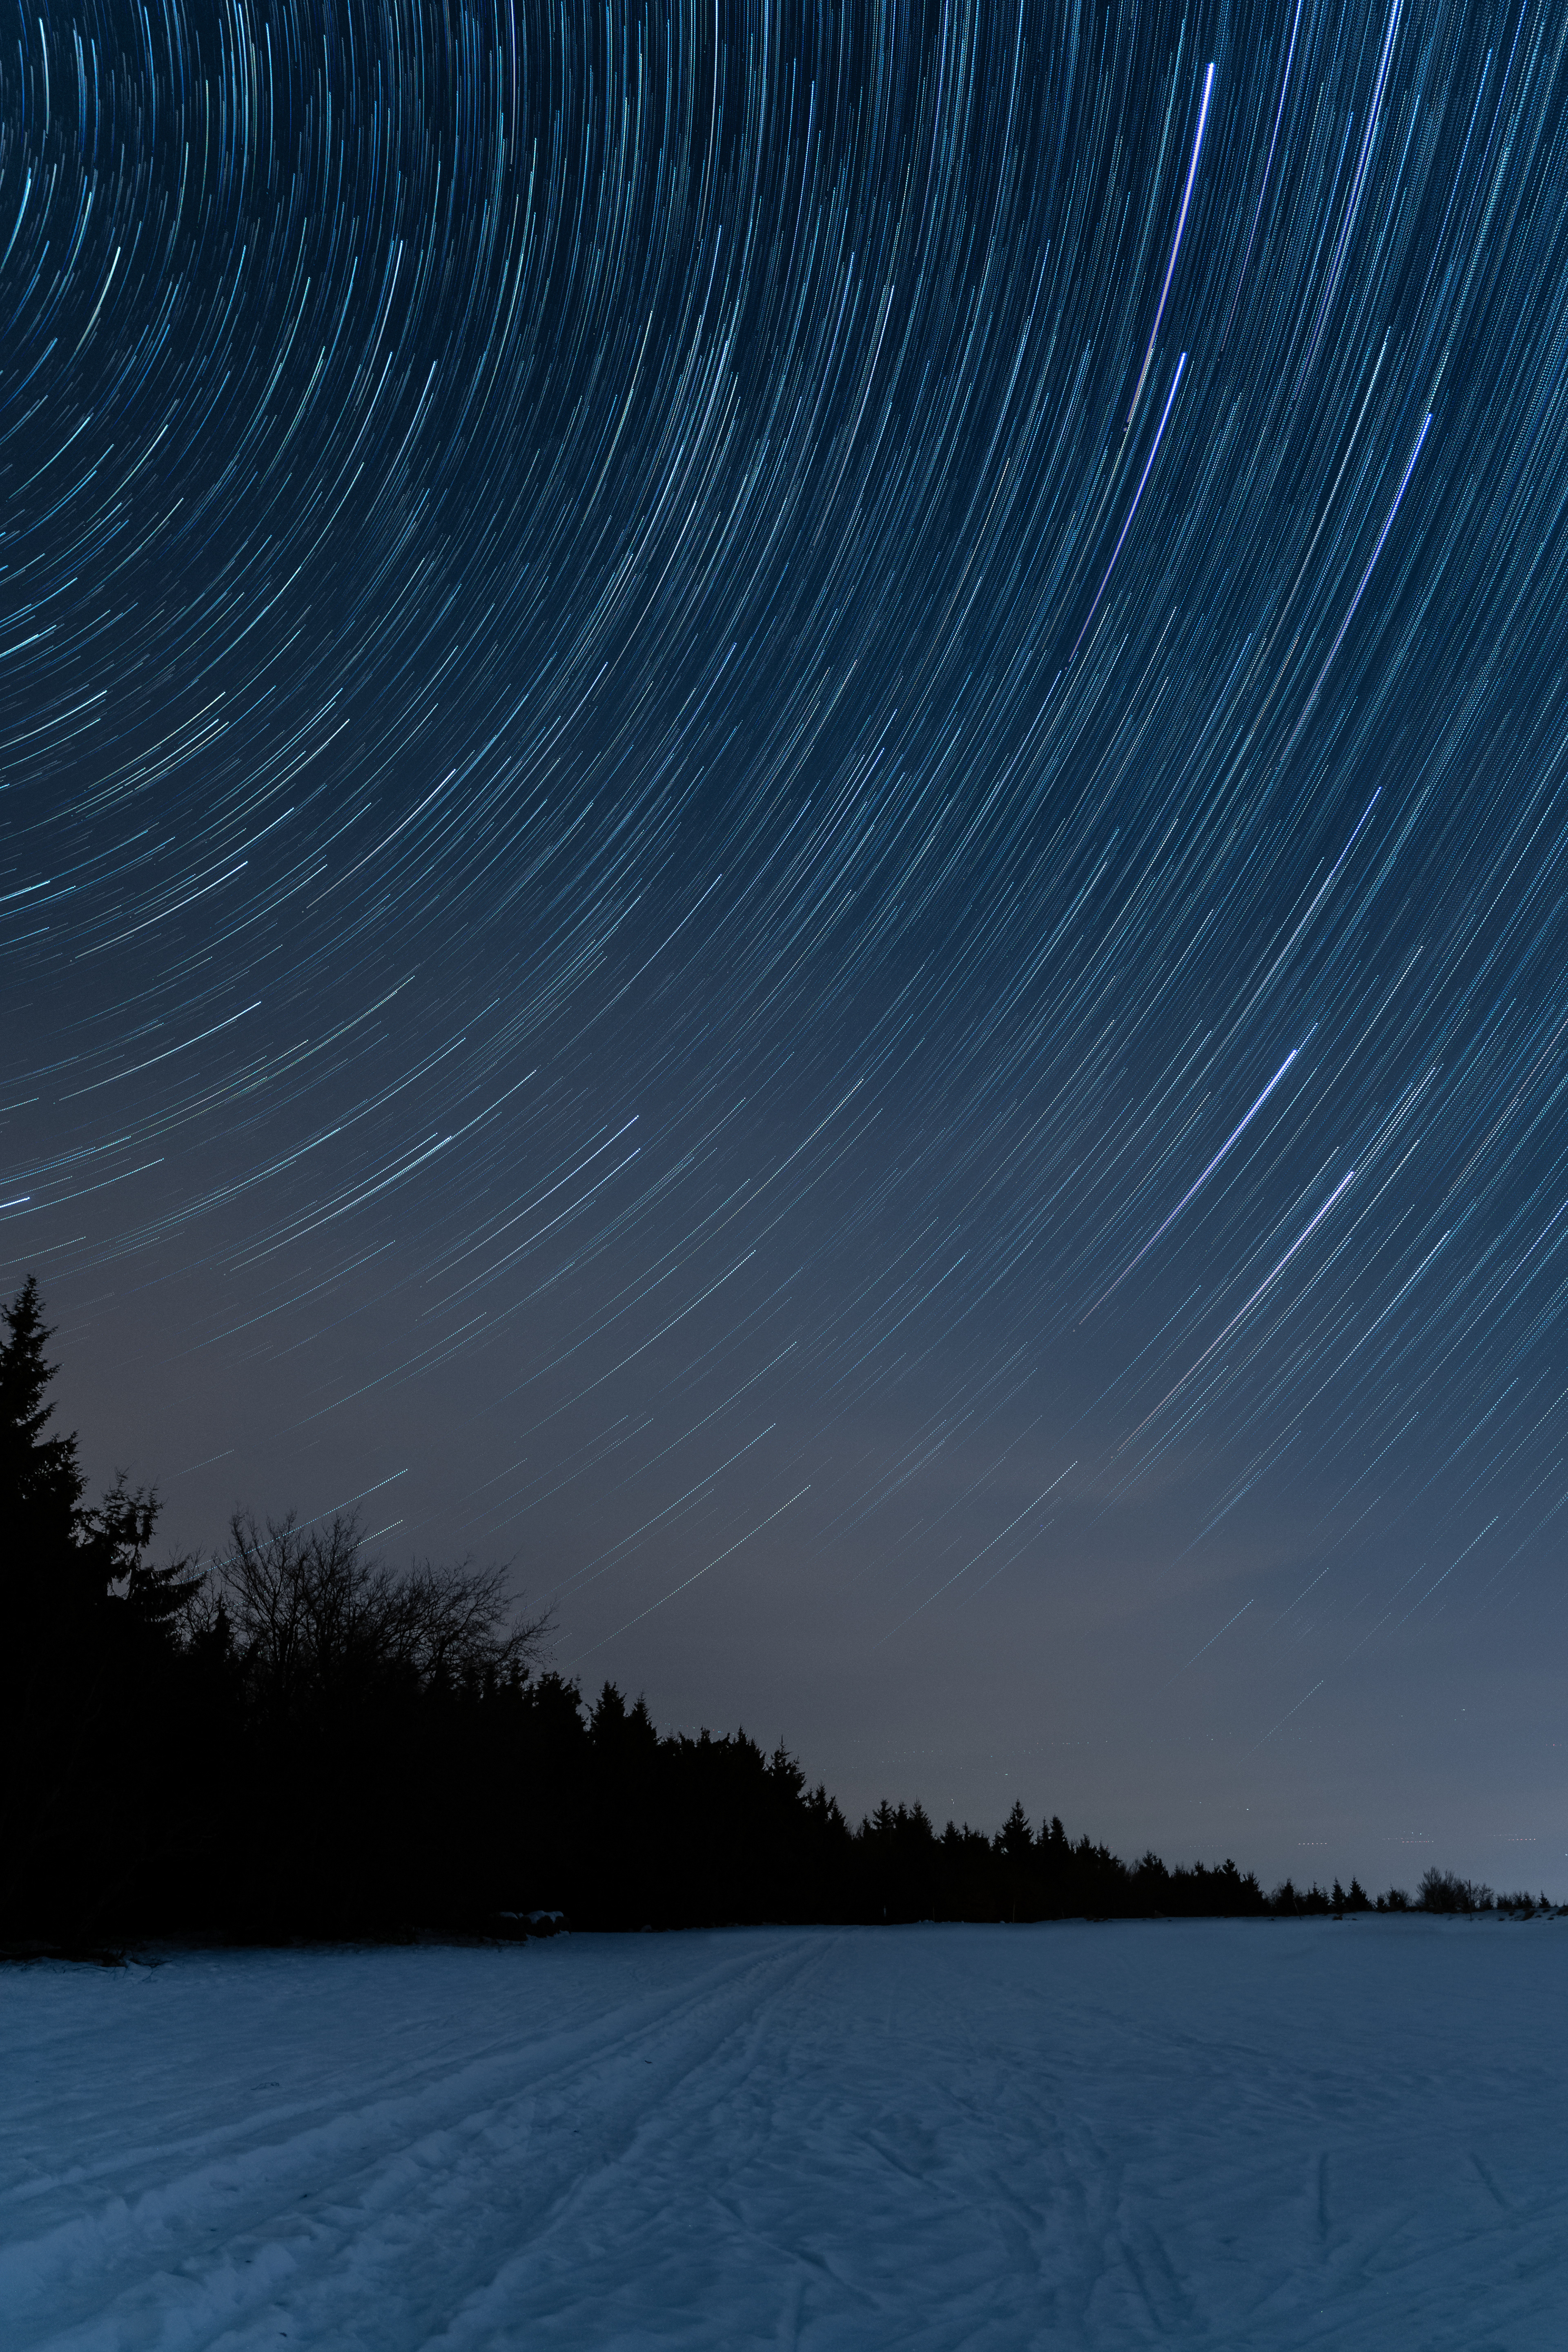
Star trail photography is a type of long exposure photography that captures the apparent motion of stars as the Earth rotates on its axis. This motion creates spiral-like shapes, known as diurnal circles, which add a dynamic and ethereal quality to your photos.
Essential Equipment for Star Trail Photography
1. Sturdy Tripod: To keep your camera stable for long exposures.
2. Remote Shutter Release or Intervalometer: To minimize camera shake and to set up continuous shooting over a long period.
3. Camera with Manual Mode: Allows you to control the necessary settings for long exposures.
4. Wide-Angle Lens: Captures more of the sky and allows for longer exposure times before star trails become too long.
5. Extra Batteries and Memory Cards: Long exposures can drain batteries quickly, and you'll need ample storage for multiple long-exposure shots.
Optimal Camera Settings
To capture stunning star trails, follow these steps and settings:
1. Manual Mode: Set your camera to manual mode.
2. Focus: Switch to manual focus and set it to infinity. Use live view and zoom in on a bright star to ensure sharp focus.
3. Aperture: Open your lens to its widest aperture (between f/1.2 and f/5.6) to allow maximum light capture.
4. ISO: Set your ISO between 800 and 3200, depending on your camera's noise performance.
5. Shutter Speed: Start with 30-second exposures. For longer trails, you might combine multiple exposures in post-processing.
6. White Balance: Set a consistent white balance to avoid color shifts between frames (tungsten or daylight often works well).
Shooting Star Trails
1. Location and Timing: Choose a dark location away from light pollution. Clear nights with minimal moonlight are ideal.
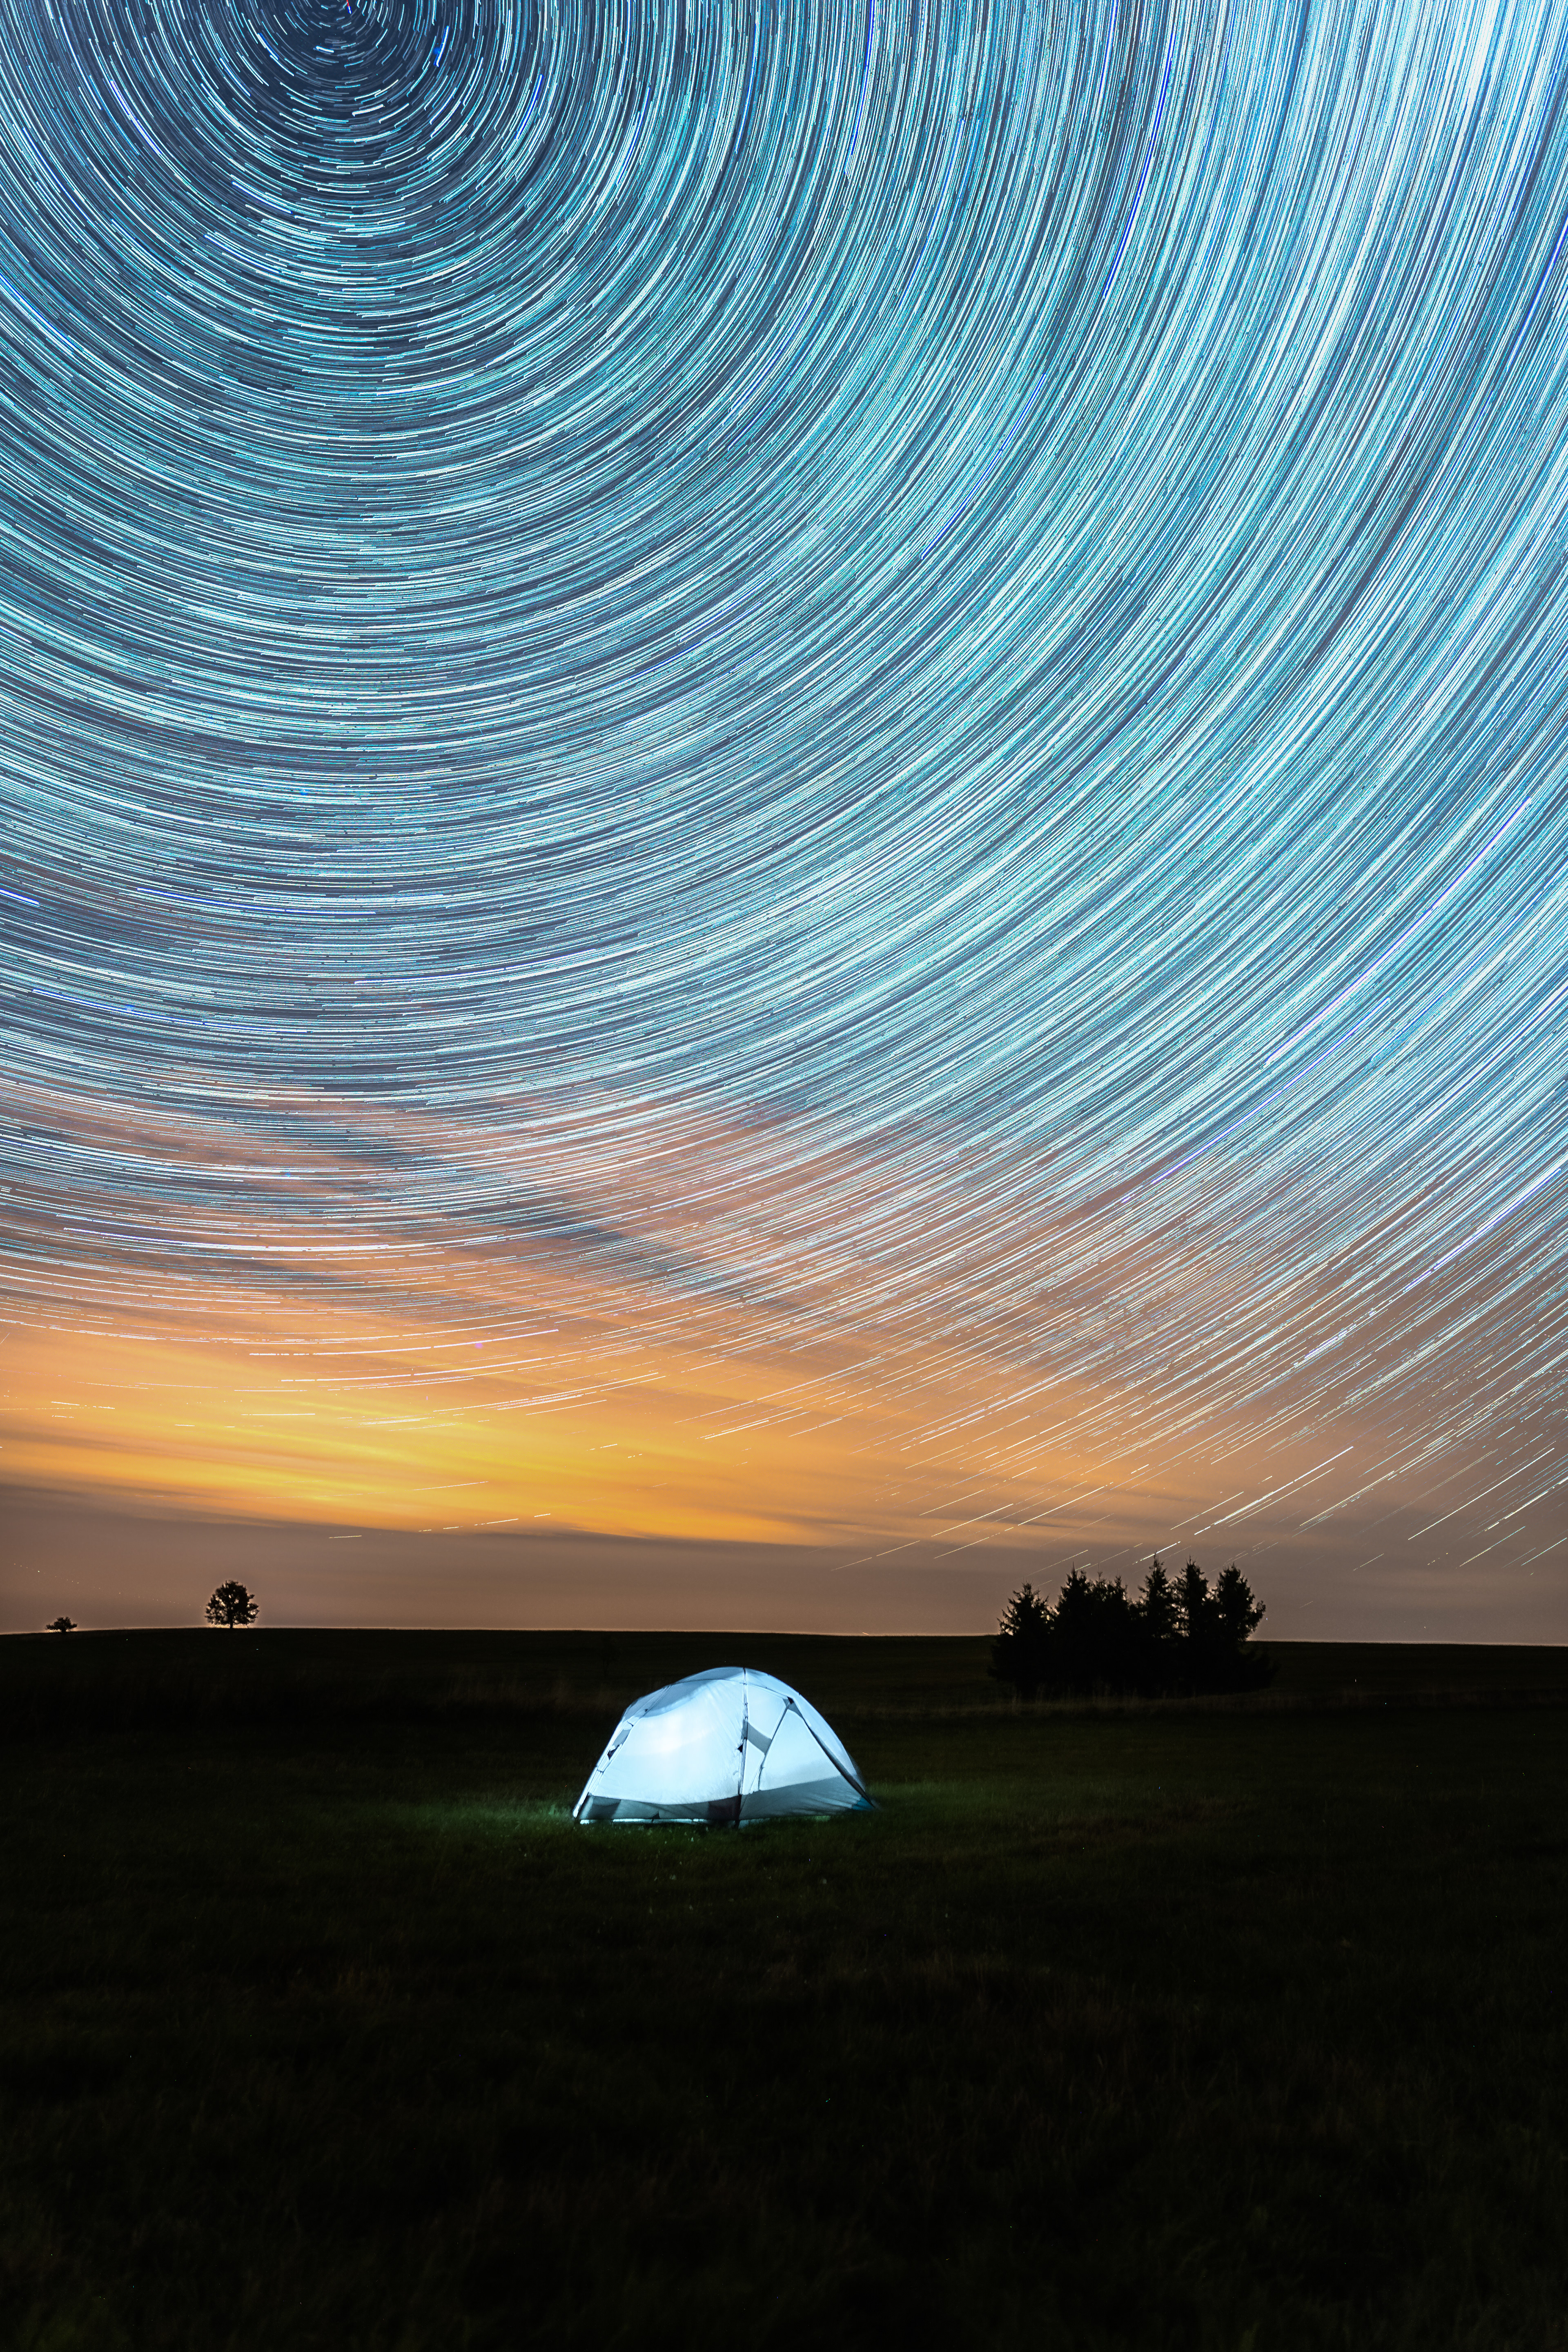
2. Composition: Include interesting foreground elements, such as trees, buildings, or mountains, to add depth to your image.
3. Continuous Shooting: Use an intervalometer to take continuous shots over a period of one to several hours. This method avoids the limitations of single very long exposures, such as sensor overheating and excessive noise.
4. Post-Processing: Combine multiple exposures using software like Adobe Photoshop or dedicated star stacking programs. This will create smooth, continuous star trails and allow you to reduce noise.
Best Practices
1. Battery and Memory Management: Ensure you have fully charged batteries and plenty of memory card space, as star trail photography can be demanding on both.
2. Test Shots: Take a few test shots to check your focus and exposure settings before committing to a long shooting session.
3. Stay Warm and Safe: If you're shooting in a remote location, bring appropriate clothing, snacks, and safety gear.
2. Test Shots: Take a few test shots to check your focus and exposure settings before committing to a long shooting session.
3. Stay Warm and Safe: If you're shooting in a remote location, bring appropriate clothing, snacks, and safety gear.
By following these guidelines and settings, you can create breathtaking star trail images that showcase the motion of the stars and the rotation of the Earth, providing a unique and captivating perspective on the night sky.
Essential Equipment for Star Trail Photography
Gathering the right gear is the first step in successful star trail photography. While it doesn't require an extensive array of equipment, a smartphone won't suffice. Ensure you have everything listed below before heading out.
A Good Manual Camera
A manual camera is essential since you'll need control over ISO, aperture, and shutter speed. A camera with a built-in intervalometer is even better. Key qualities to look for include:
- Superior Low Light Performance: Essential for capturing the night sky.
- RAW Mode Capability: Allows for better post-processing flexibility.
- Durability: Ensure your camera can withstand outdoor conditions or invest in a protective casing.
- RAW Mode Capability: Allows for better post-processing flexibility.
- Durability: Ensure your camera can withstand outdoor conditions or invest in a protective casing.
External Intervalometer
If your camera lacks a built-in intervalometer, you’ll need an external one. An intervalometer helps you:
- Extend Exposure Times: Essential for capturing star trails.
- Take Bursts of Images: Allows for continuous shooting over extended periods. It won’t set your shutter speed or timing for you, but it ensures your camera can execute your desired settings accurately.
- Take Bursts of Images: Allows for continuous shooting over extended periods. It won’t set your shutter speed or timing for you, but it ensures your camera can execute your desired settings accurately.
Wide Angle Lens
The vastness of the sky requires a wide-angle lens. For optimal results:
- Lens Length: Between 14mm and 24mm.
- Aperture Value: Between f/2.8 and f/5.6. A fisheye lens can also work, but it will produce a different effect.
- Aperture Value: Between f/2.8 and f/5.6. A fisheye lens can also work, but it will produce a different effect.
Tripod
A sturdy tripod is crucial for long exposures, as it keeps your camera steady for the extended periods needed to capture star trails. Investing in a quality tripod is worthwhile, especially for setups on uneven ground.
By ensuring you have a good manual camera, an intervalometer, a wide-angle lens, and a sturdy tripod, you'll be well-equipped to capture stunning star trail photographs.
Star Trail Photography Settings
To capture stunning star trail photos, focus on three primary camera settings: shutter speed, aperture, and ISO.
1. Shutter Speed: Ideal ranges are between 20 and 90 seconds.
2. Aperture: Set between f/2.8 and f/5.6.
3. ISO: Depending on your camera and the light conditions, start between 400 and 3200, adjusting upwards as needed.
2. Aperture: Set between f/2.8 and f/5.6.
3. ISO: Depending on your camera and the light conditions, start between 400 and 3200, adjusting upwards as needed.
Tips for Taking Epic Star Trail Photos
While star trails are captivating on their own, these tips can elevate your shots even further:
Consider Your Composition
Incorporate interesting foreground elements to anchor your star trails and enhance the overall composition. Trees, mountains, or buildings can provide stunning contrast and depth.
Focus on the Brightest Star
For a compelling composition, zoom in slightly on the brightest star in your frame, positioning it using the rule of thirds.
Shoot with the Largest Aperture Your Lens Allows
A larger aperture (lower f-number) lets in more light, resulting in higher quality images with more visible stars.
Show the Rotation in Action
Use time-lapse photography to capture the movement of the star trails. This not only creates a mesmerizing effect but also allows you to extract individual frames for still shots.
Go Panoramic
Star trails are well-suited for panoramic shots. Consider using stitching techniques instead of a single long exposure. Ensure your camera is level to maintain consistency across frames.
By fine-tuning these settings and incorporating these tips, you can create breathtaking star trail photos that highlight the beauty and motion of the night sky.
Planning Your Star Trail Shoot
Check for Clear Skies
Star trails require visible stars, so clear skies are essential. A few clouds can add interest to your photo, but too many will obscure the stars. Use a stargazing app like Star Tracker or SkyView Lite to check the sky conditions for your shoot night and monitor weather patterns to ensure optimal visibility.
Set Up Your Composition First
Before adjusting your camera settings, determine your composition. Different compositions may require different settings, and it's crucial to establish the basics of your image first. Position foreground elements like trees, mountains, or buildings to enhance your star trails and add depth to your photo.
Practice Makes Perfect
Night photography, especially star trails, requires practice. Get out and shoot as often as possible to learn how to adjust your camera settings for different conditions and compositions. Through practice, you'll discover the best locations and techniques to capture magical star trail images.
By planning carefully and practicing regularly, you'll improve your star trail photography skills and create stunning, ethereal images of the night sky.