Have you ever been curious about photographing stars? Perhaps you're unsure about the necessary equipment or the optimal camera settings for capturing the night sky. From my own experience, I can tell you that photographing stars presents its challenges, but once you grasp the fundamentals, it becomes immensely rewarding, allowing you to capture breathtaking images.
In this guide, I'll provide you with all the essential knowledge for astrophotography to help you achieve incredible night sky photos. We'll cover the required gear, ideal camera settings, composition tips, and much more!
Whether you're interested in photographing a comet, capturing the Milky Way, snapping shots of a meteor shower, or just recording some star trails, this guide will answer all your questions.
Photography Gear you Need to Take Pictures of Stars
Let's start with the photography gear you'll need for capturing stars, which might be simpler than you think. Afterward, we'll explore the various types of night sky photos you can take and the camera settings you'll need to use.
Here are a few key pieces of equipment that will make photographing stars much easier:
1. A TRIPOD
One of the most crucial accessories for star photography is a tripod. This is essential because your camera needs to remain completely still for several seconds, which is impossible to achieve by hand. While you could try balancing your camera on a rock or another surface, using a tripod is highly recommended. A tripod not only stabilizes your camera for star photography but also enhances your overall photography in numerous ways, making it a worthwhile investment.
2 – A REMOTE SHUTTER RELEASE
A remote shutter release serves as an external shutter button for your camera. The simplest versions are just cables with a single button that connects to your camera. More advanced models, known as intervalometers, allow you to set up sequences of shots over time. For instance, you can program your camera to take 100 images, each with a 30-second exposure. There are two main reasons why a remote shutter release is essential for star photography. First, even with your camera on a tripod, pressing the shutter button can cause slight movements that result in image blur. A remote shutter release eliminates this issue.
Second, most cameras require a remote shutter release for exposures longer than 30 seconds, typically when shooting in "BULB" mode. In this mode, the shutter remains open as long as the shutter button is pressed. Before purchasing a remote shutter release, check if your camera has WiFi and a companion smartphone app. If it does, you can likely use your phone as a remote shutter release, saving you the cost of buying one.
3 – A CAMERA WITH MANUAL OR BULB MODE
For astrophotography, you'll obviously need a camera. The most crucial feature your camera should have is a manual mode, allowing you to control all essential settings. To achieve the best results, you need to be able to adjust the shutter speed and ISO, and ideally, the aperture as well. A high-end DSLR is not necessary for night sky photography; you can even use a smartphone if it allows you to adjust the shutter speed and can be mounted on a tripod. The key is having control over these settings to capture the stars effectively.
4 – IDEALLY A CAMERA WITH A LARGE SENSOR AND A FAST, WIDE-ANGLE LENS
For the best results when photographing stars, you need two key components: a camera with a large sensor and a lens with a wide aperture. While it's possible to achieve reasonable results with a less advanced camera like a smartphone or a point-and-shoot, a bigger sensor will capture more light, improving your night shots. Ideally,a full-frame camera is preferred for optimal results. The lens is also crucial. A wide-angle lens allows you to capture more of the sky in your shot. A lens with a wide aperture, which lets in more light, will also yield better results. Apertures are measured in "f" stops, and you should aim for something like f/4 or greater. An aperture range of f/2.8 to f/1.2 is ideal.
Camera Settings for Taking Pictures of the Stars
Setting up your camera for star photography is straightforward. Begin by putting your camera into manual mode (typically "M" on the mode dial) and manual focus mode (usually via a switch on the lens). If your camera lacks these options, at least look for a long exposure mode and a way to set the focus to infinity. It's also recommended to shoot in RAW format to give you more control during the editing process and to maximize the quality of your photos.
Here are the steps and settings to follow:
- Mount your camera on a tripod and point it at the sky.
- Set the aperture as wide as possible (between f/1.2 and f/5.6).
- Adjust the ISO to between 1600 and 6400, depending on your camera's capabilities.
- Set the shutter speed to between 10 and 20 seconds.
- Set the aperture as wide as possible (between f/1.2 and f/5.6).
- Adjust the ISO to between 1600 and 6400, depending on your camera's capabilities.
- Set the shutter speed to between 10 and 20 seconds.
How to Take Pictures of the Stars
Static star pictures rely somewhat on your gear because you are limited by how long you can expose the photo before the stars start to move across the sky. The exact time varies with your focal length, but generally, exposures longer than 20 to 30 seconds will start to show star movement.
You can calculate the maximum exposure time for your setup using the rule of 600. Divide 600 by the focal length of your lens to find your maximum shutter speed. For example:
- With a 100mm lens: 600 / 100 = 6 seconds.
- With a 16mm wide-angle lens: 600 / 16 = 37.5 seconds.
- With a 16mm wide-angle lens: 600 / 16 = 37.5 seconds.
In both cases, you don’t have much time to capture the static night sky before star trails begin to appear. Therefore, static star pictures often require higher-end cameras and lenses to capture enough light within the limited time window.
Composition Tips for Static Star Shots
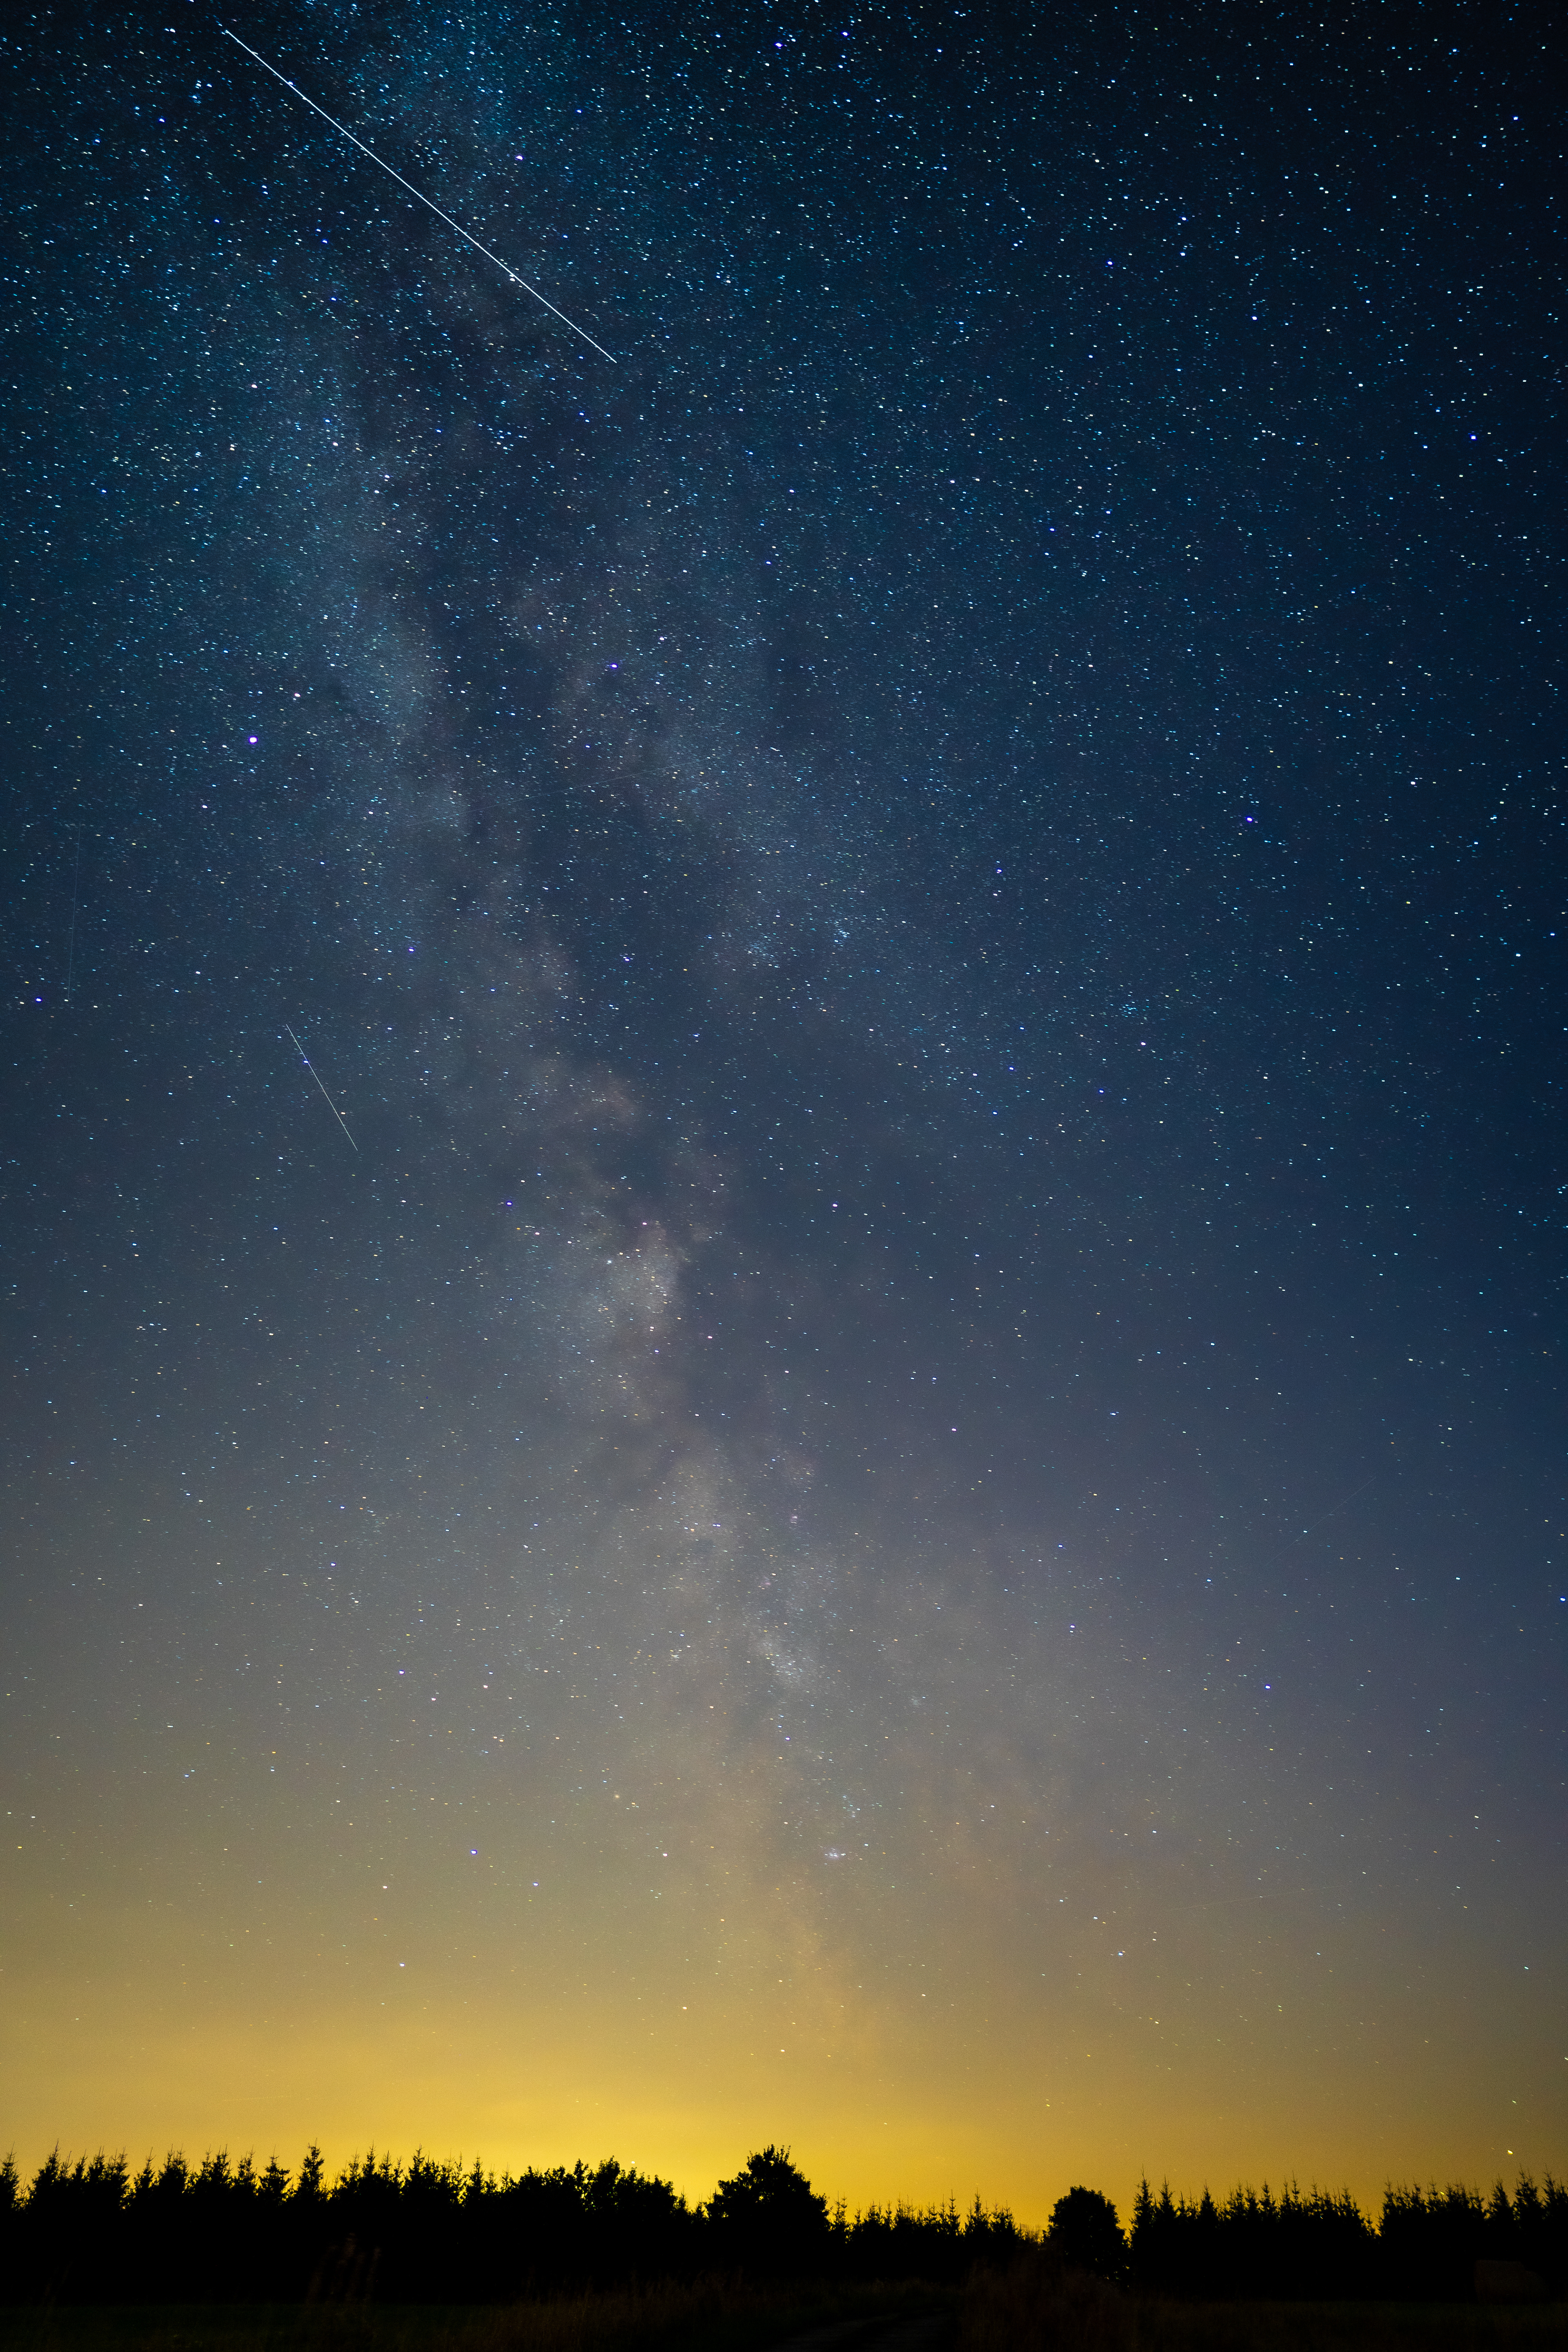
1. Include the Milky Way: The Milky Way is a popular feature for star photos, serving as a dramatic leading line into the cosmos.
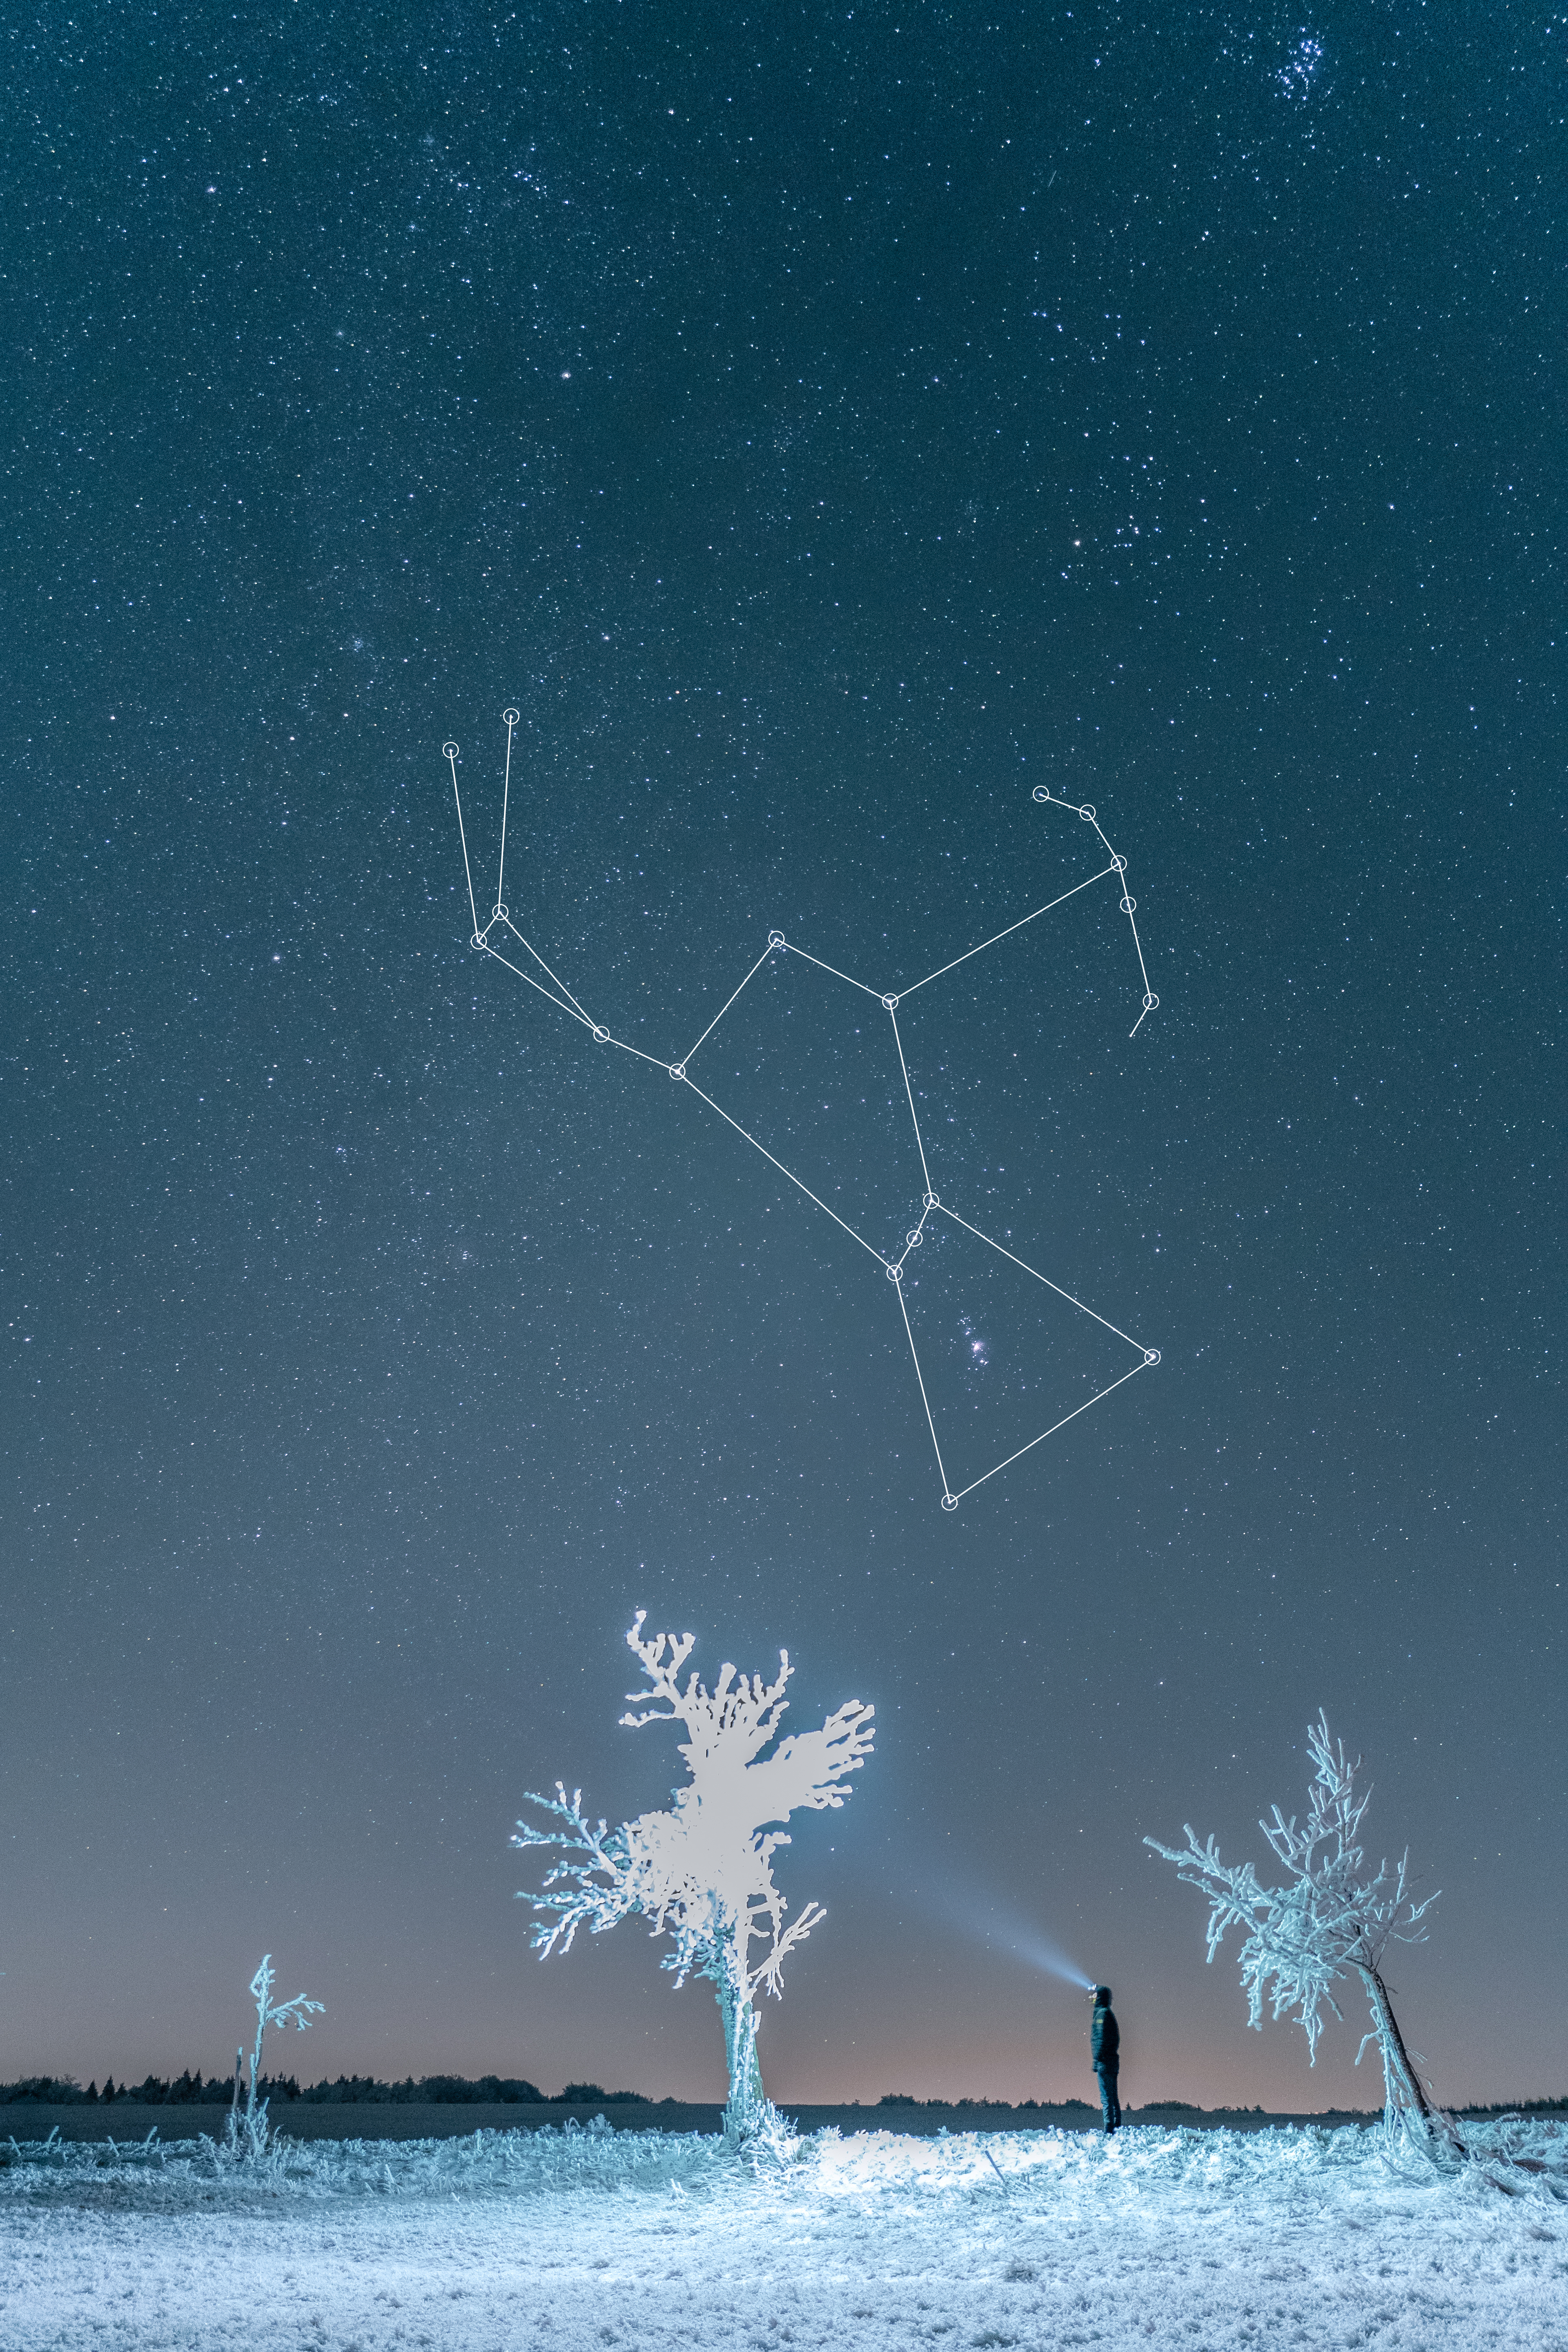
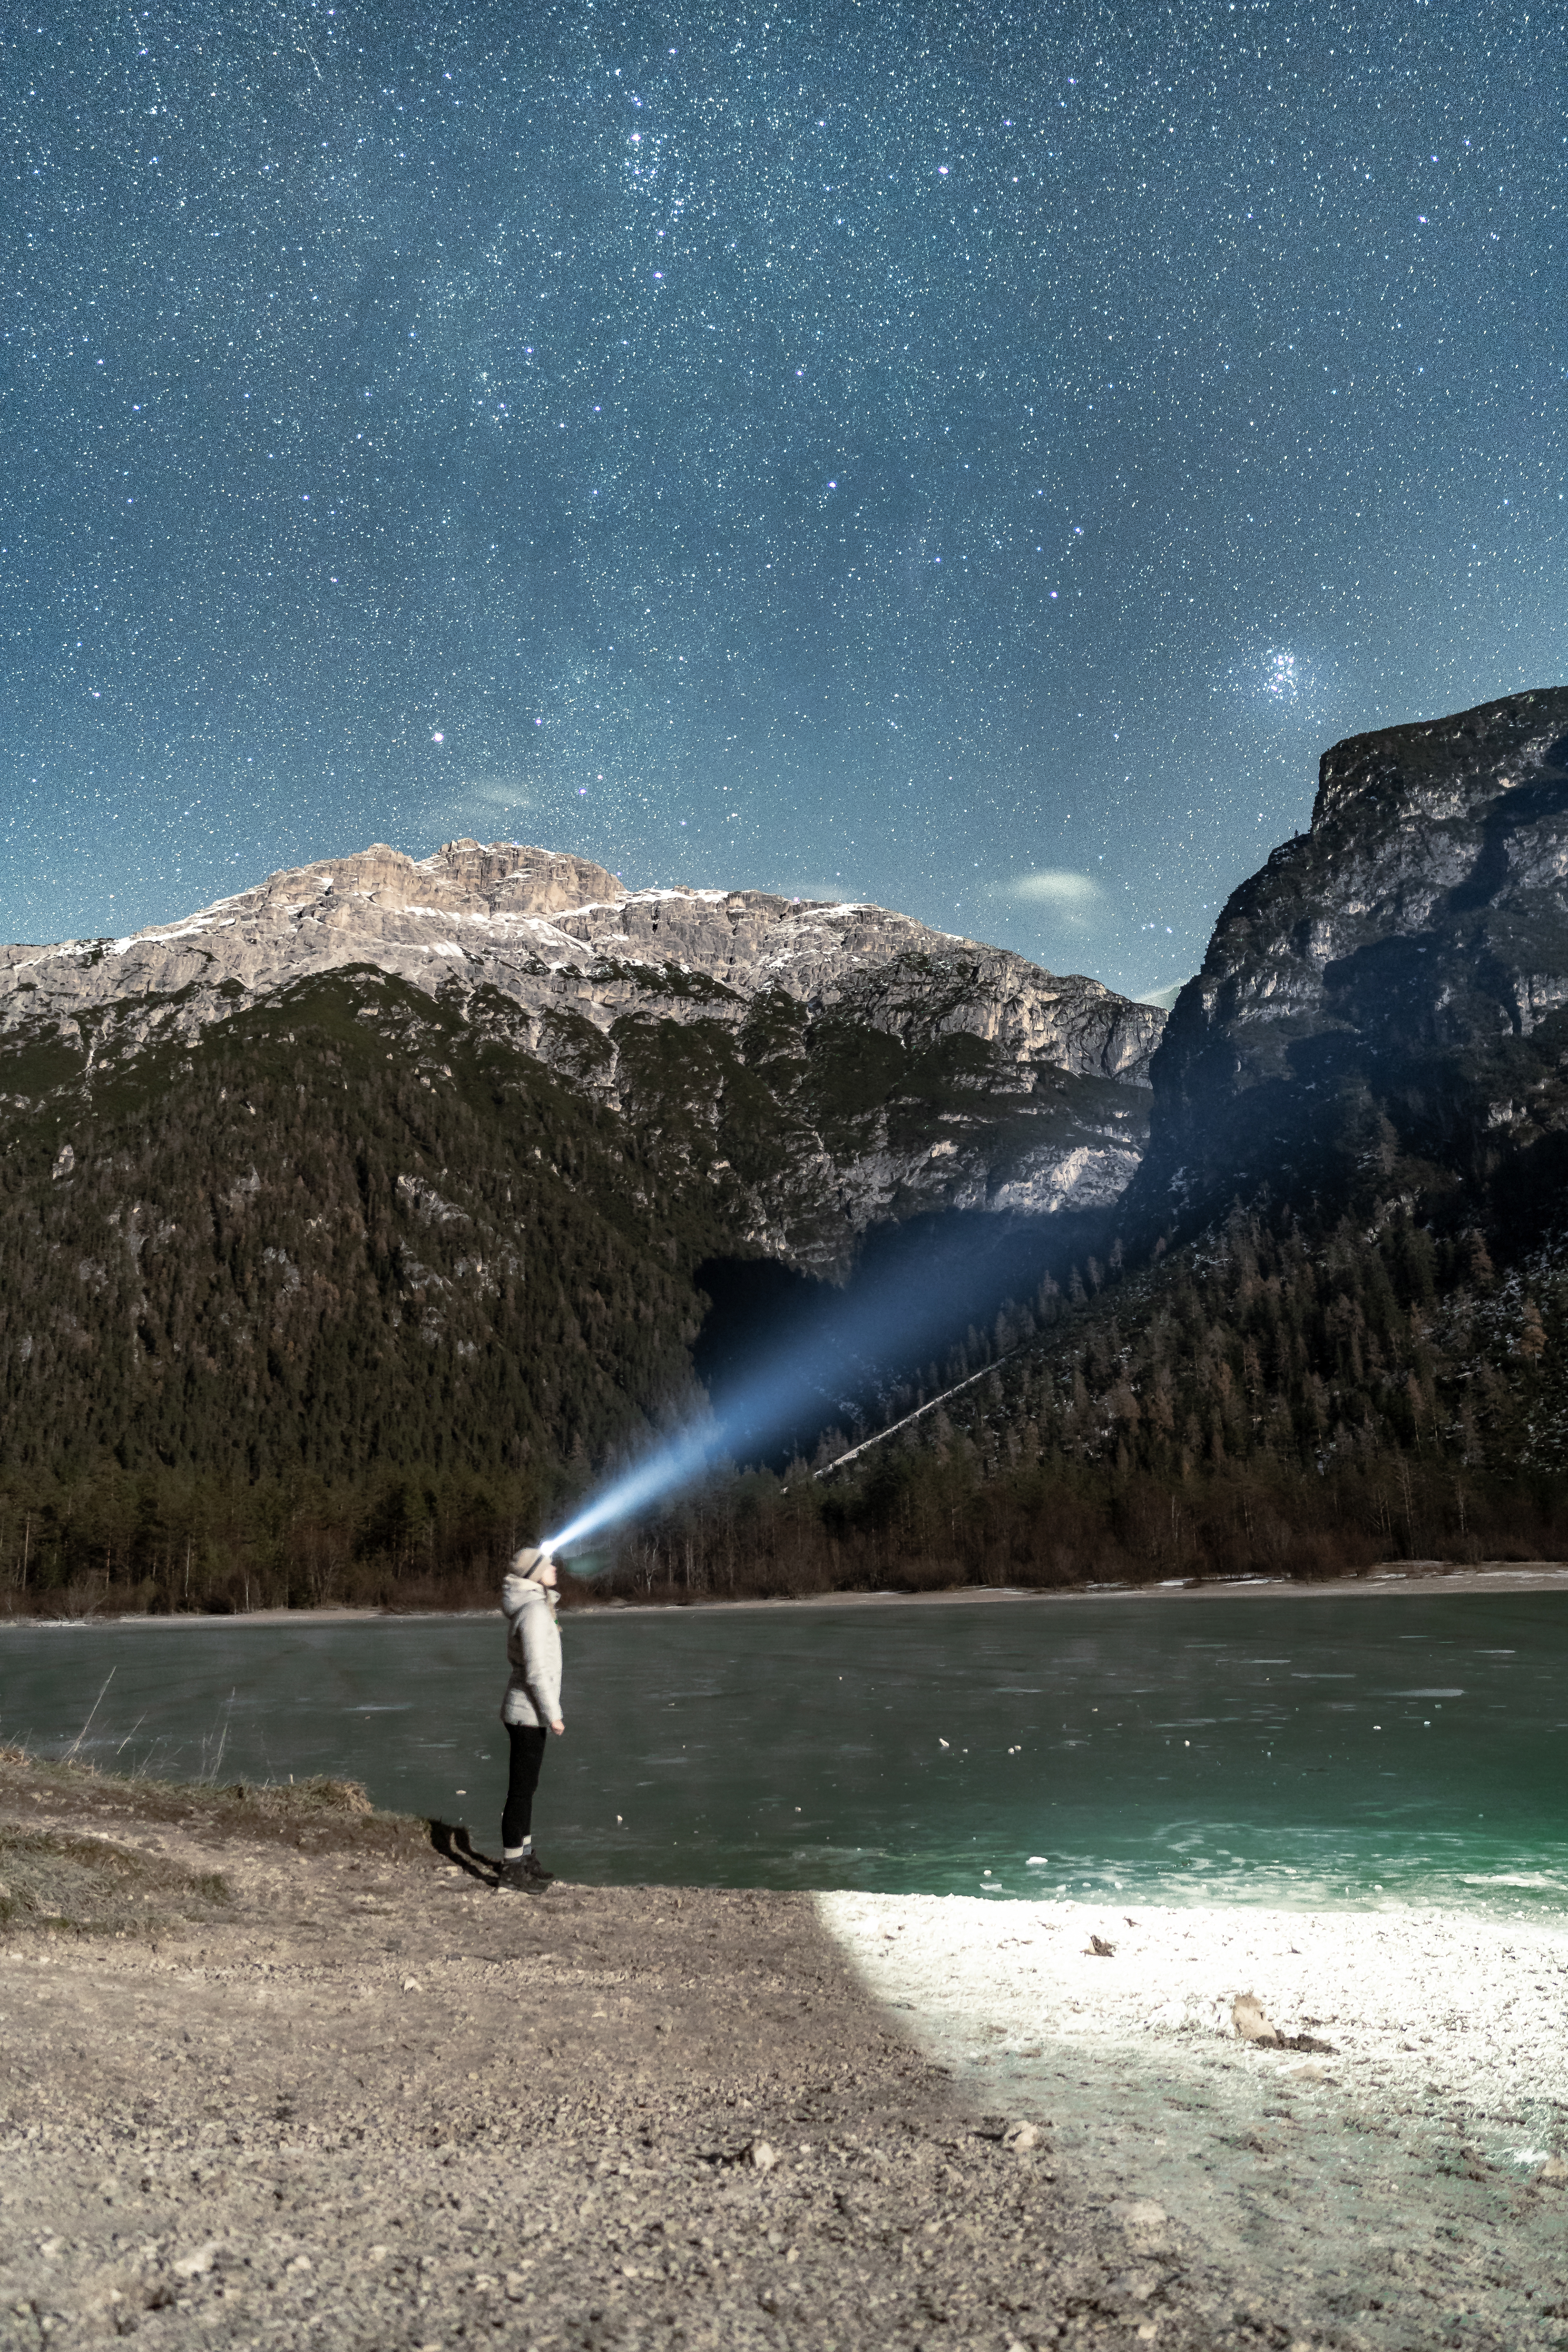
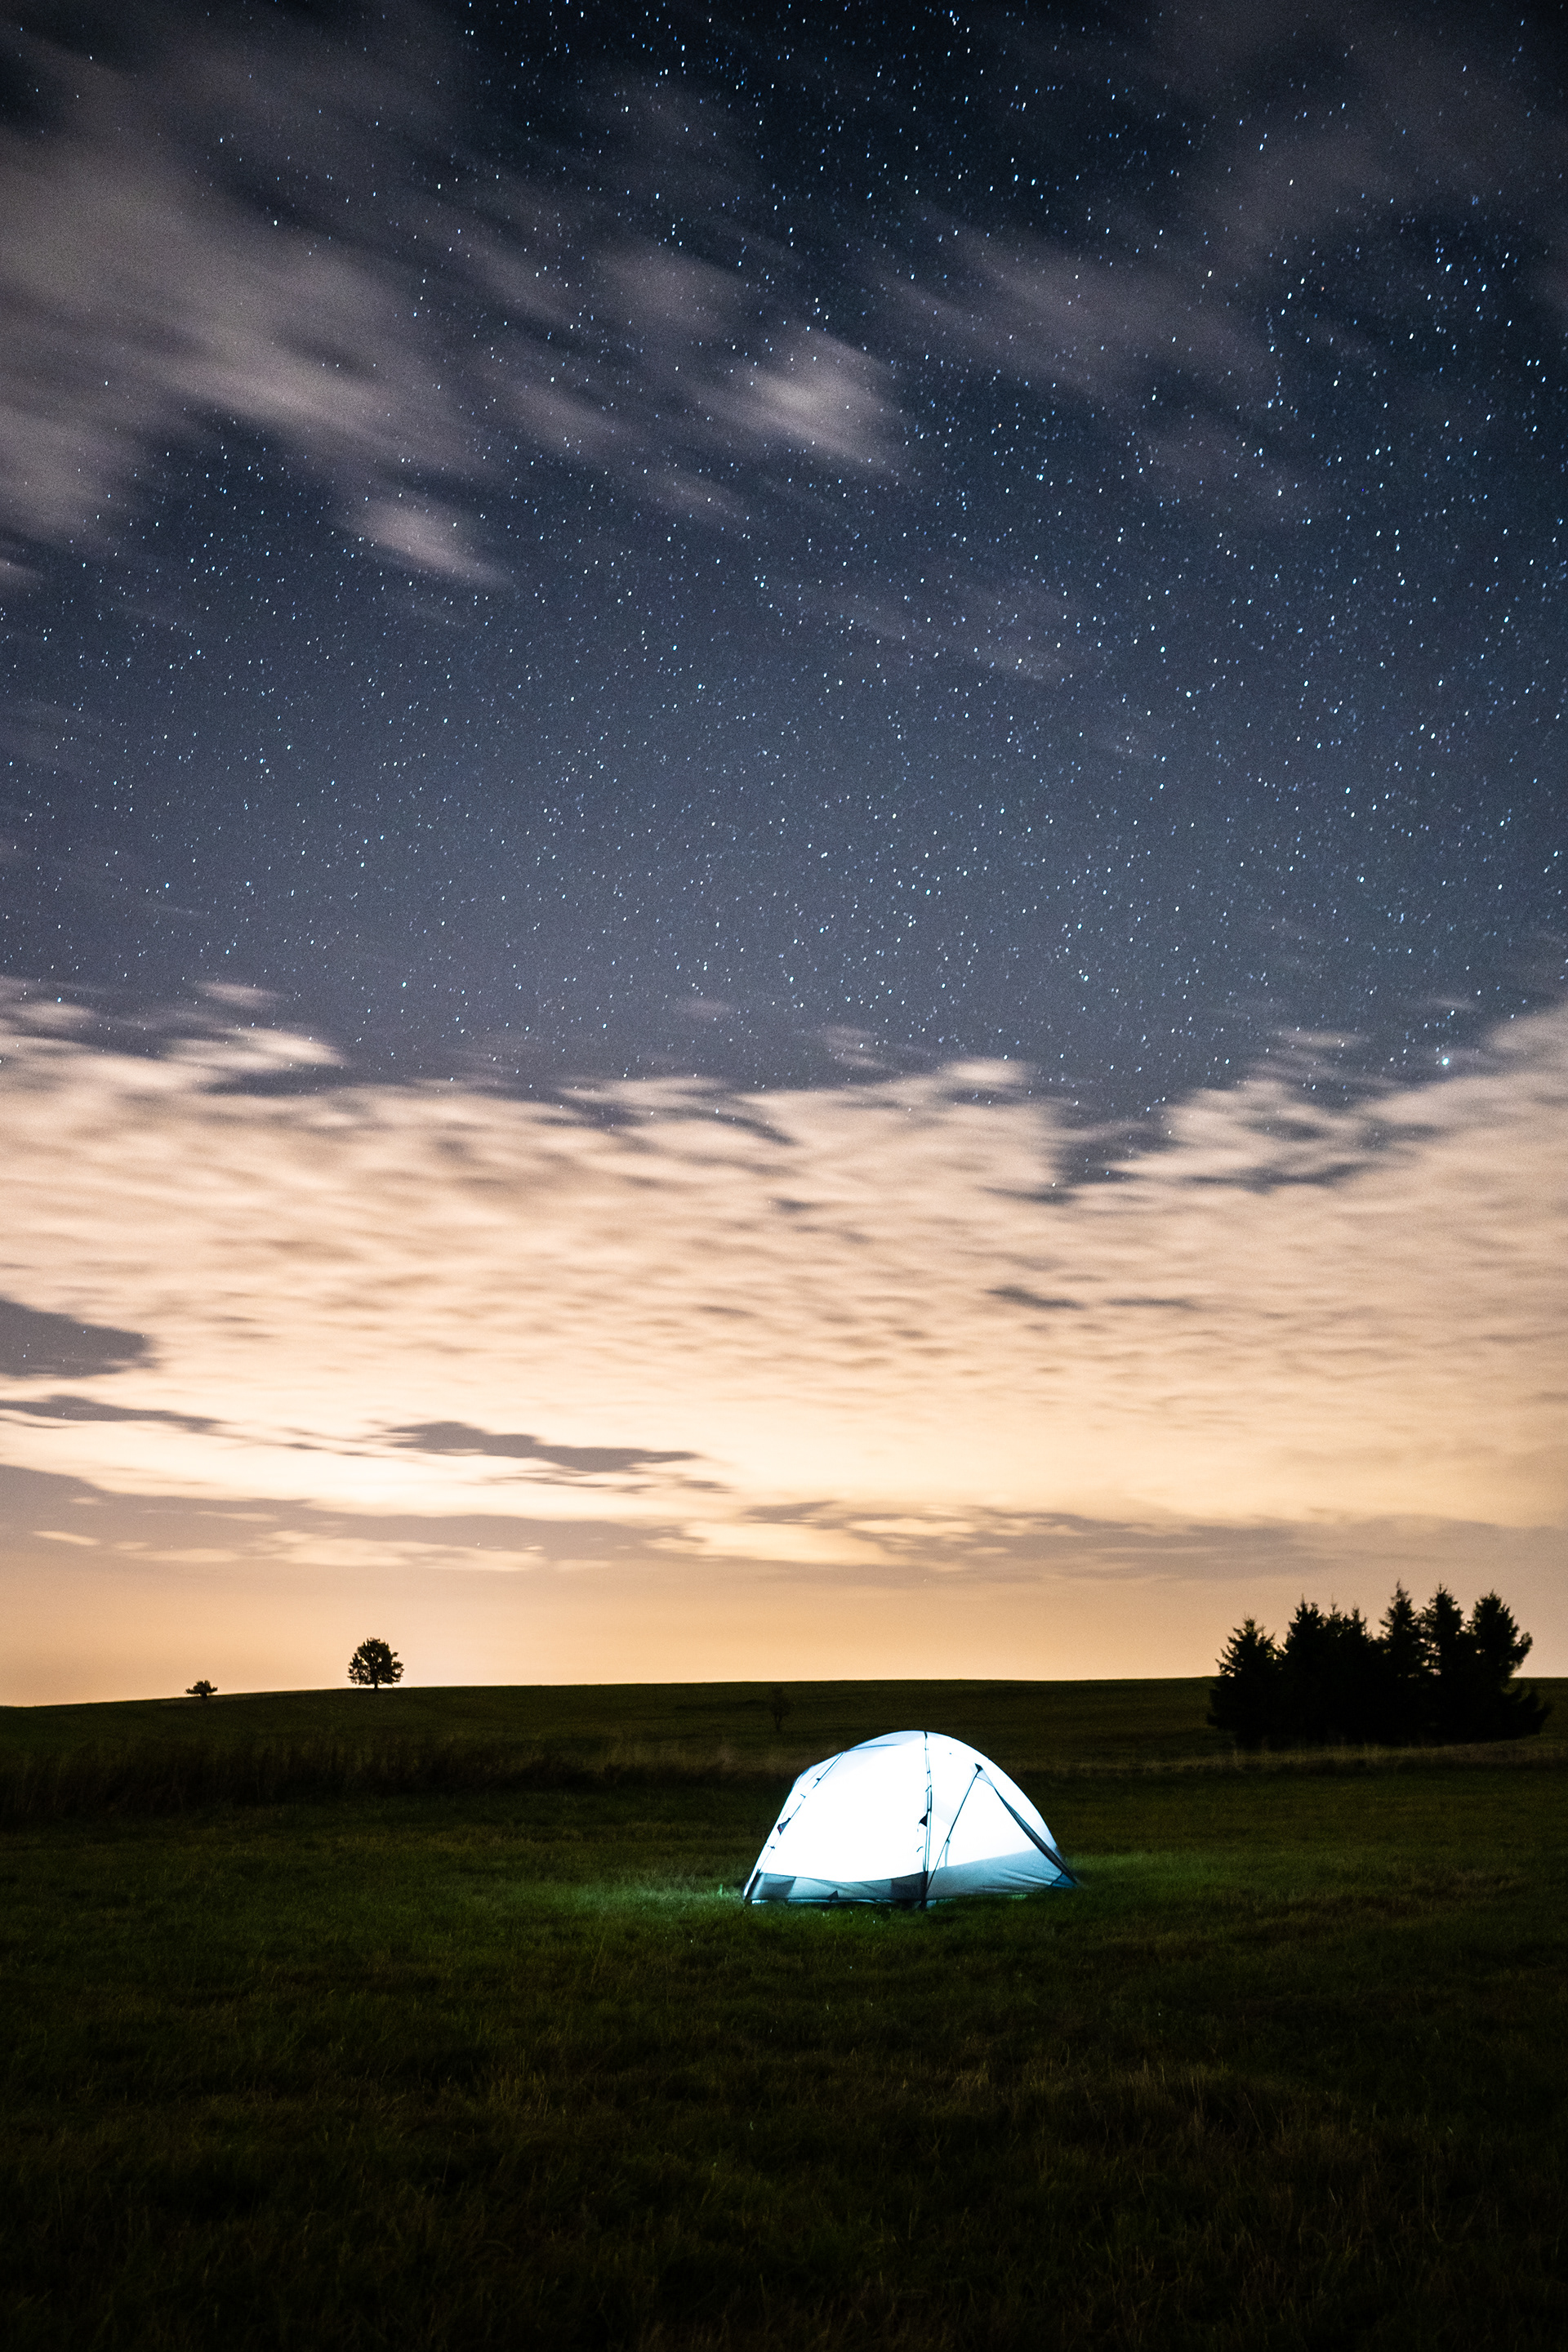
2. Foreground Elements: Adding elements like a lighthouse, tree, or interesting structure can enhance your photo. A plain shot of the stars might not be as impressive.
3. Lighting the Foreground: If the foreground is too dark, use a flashlight to illuminate it. It usually doesn't take much light to make foreground objects stand out.
Recommended Settings
- Shutter Speed: Use the rule of 600 to determine the maximum shutter speed for your lens.
- ISO: Set between 1600 and 6400, depending on your camera's capabilities.
- Aperture: Open as wide as possible, typically between f/1.2 and f/5.6.
- ISO: Set between 1600 and 6400, depending on your camera's capabilities.
- Aperture: Open as wide as possible, typically between f/1.2 and f/5.6.
Shooting Meteor Showers
These settings are also ideal for photographing meteor showers, such as the Perseids meteor shower in August. A static star shot can capture the night sky's beauty with meteors streaking through it.
Practical Steps
- Set Up Your Camera: Mount your camera on a tripod and point it at the sky.
- Manual Mode: Switch to manual mode and manual focus.
- Aperture and ISO: Set the aperture as wide as possible and adjust the ISO between 1600 and 6400.
- Calculate Shutter Speed: Use the rule of 600 to set the maximum shutter speed.
- Focus: Use manual focus, zooming in on a bright star to make it sharp.
- Take the Shot: Press the remote release button and wait for the exposure to complete.
By these steps, you'll be able to capture stunning static images of the stars, highlighting the beauty of the night sky and any celestial events occurring within it.